This knot can be used to create a fixed loop in the end of a line.
Watch our video on how to tie a Bowline here: Bowline
*** A simple way to remember how to tie this knot is “The rabbit comes out of the hole, goes behind the tree and then goes back down the hole.” ***
STEP 1 : Take the end of your line and create a loop. Leave approximately a foot of extra line on the end. Notice how the end of the line lays on top of the loop. This is important.

STEP 2 : Take the end of your line and feed it up through the loop. Make sure you are going underneath the loop so that the end of the line comes out sitting on top.

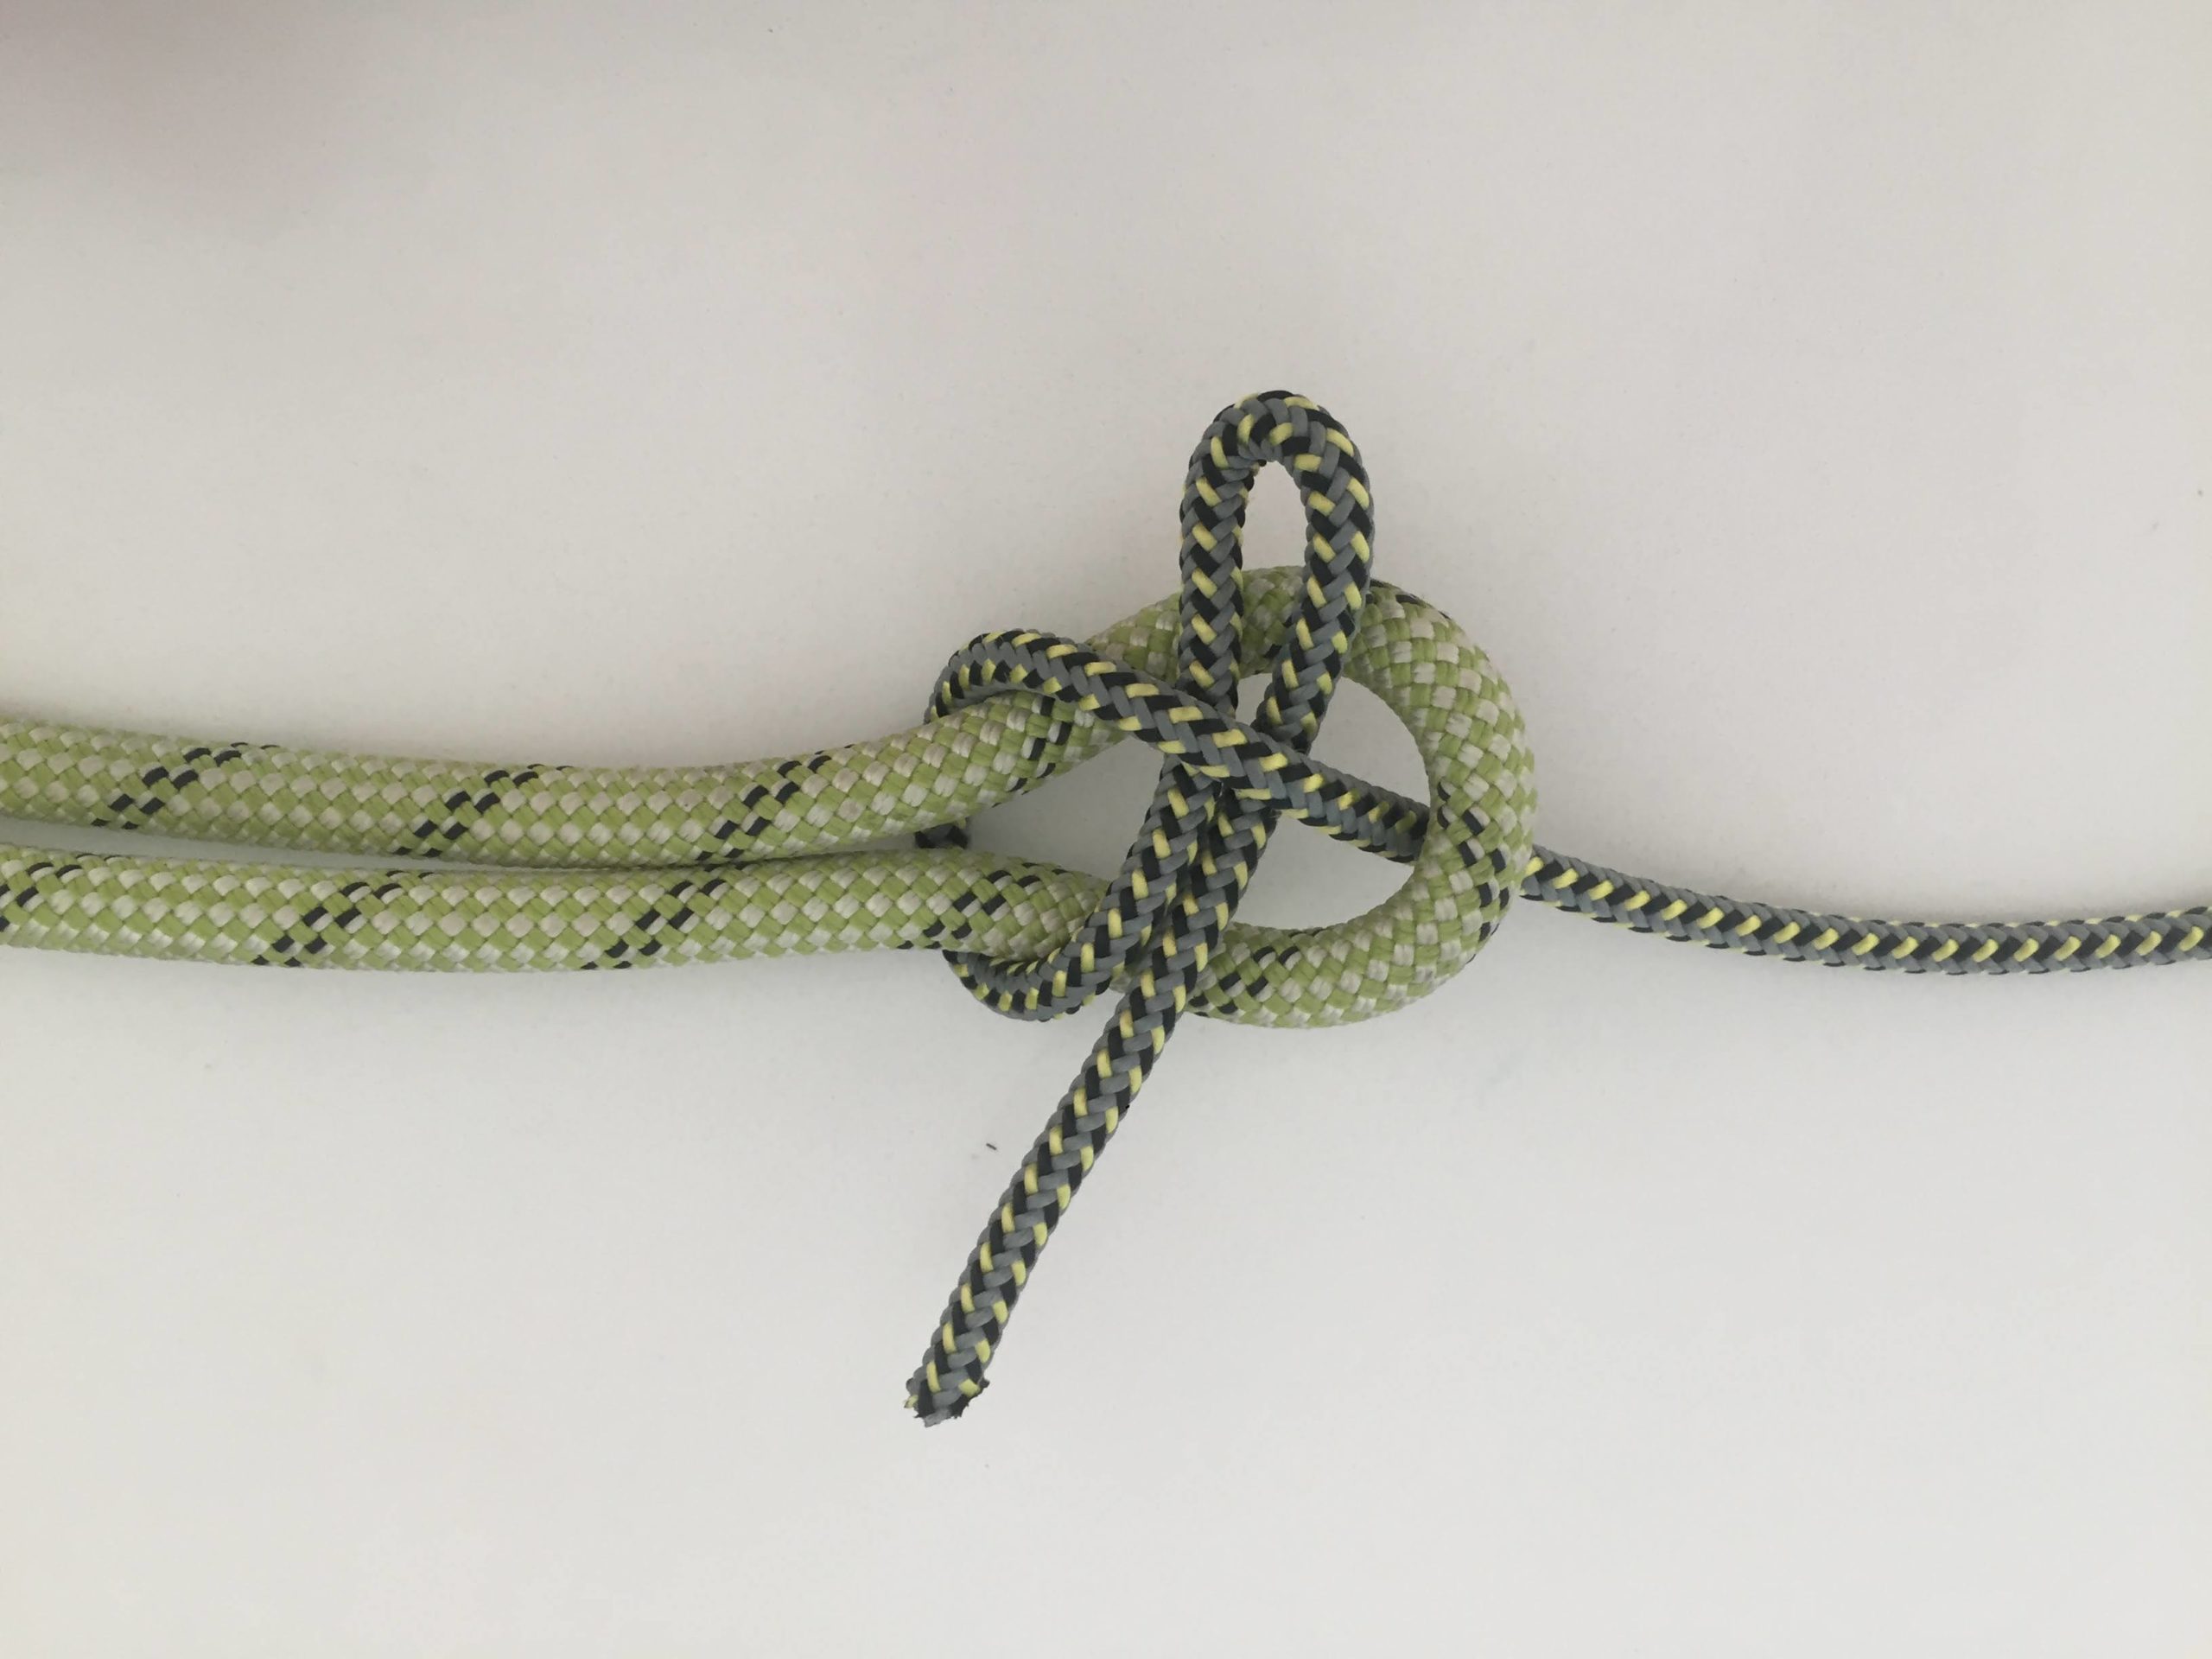
STEP 3 : Take the end of the line and wrap it in behind the longer part of the line.

STEP 4 : Take the end of your line and feed it back through the loop. This time you will feed it through the loop from the top to the bottom so the end comes out underneath the loop.

STEP 5 : Grab both lines on the right side and both lines on the left side, in either hand.

STEP 6 : Pull each set of lines away from each other in a horizontal direction. VOILA! you have just tied a bowline! You will know that you have tied it correctly if it looks like a little life jacket.